I know it’s barely spring, but I’m already thinking about what to put on my summer reading list. Are you an avid reader like I am? While I’m a fan of the ereader (Kindle, Nook, etc.) concept, as well as computer- and phone-based reading apps, there’s just something I love about a paper book. It’s not just the “feel” of a paper book in my hands (and you know how we printables fans enjoy paper), but also I can find books cheap at thrift stores and library sales, and (TMI) I can read them in the bath.
I usually have several books going at once: everything from business inspiration to sci fi. So, I’m often reaching for a bookmark. I like a nice, sturdy marker, not some tiny scrap of paper or napkin that’s going to fall out, or this month’s power bill that I’ll forget is there.
If you are in the need of nicely designed, themed bookmarks, check out FreePrintableBookmarks.net. My site has more than 45 to choose from, plus dozens of bookplates to let everyone know to keep their mitts off your book (or at least return it in a timely fashion.)
The bookmarks can be downloaded and printed for free, and they’re easy to assemble. Here’s a step-by-step guide to the process:
1. Visit FreePrintableBookmarks.net and download your favorite bookmarks. There are holiday bookmarks as well as themed designs such as mystery, Western, religious and technology.
2. Print your bookmark. Use cardstock if you’d like it extra sturdy.
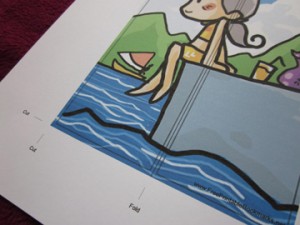
3. Check out the handy folding and cutting guide lines. Using scissors or a paper trimmer, cut along the cut lines.

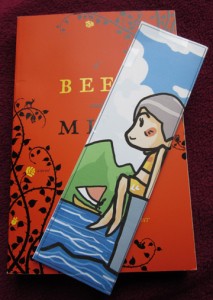
4. After admiring the lovely image on your bookmark, fold along the fold line.

5. Secure bookmark with clear tape (you could even punch a hole and add a yarn tassel if you’d like) and crack open a book!
